Posted by: mitha.ismalyulii
554 View
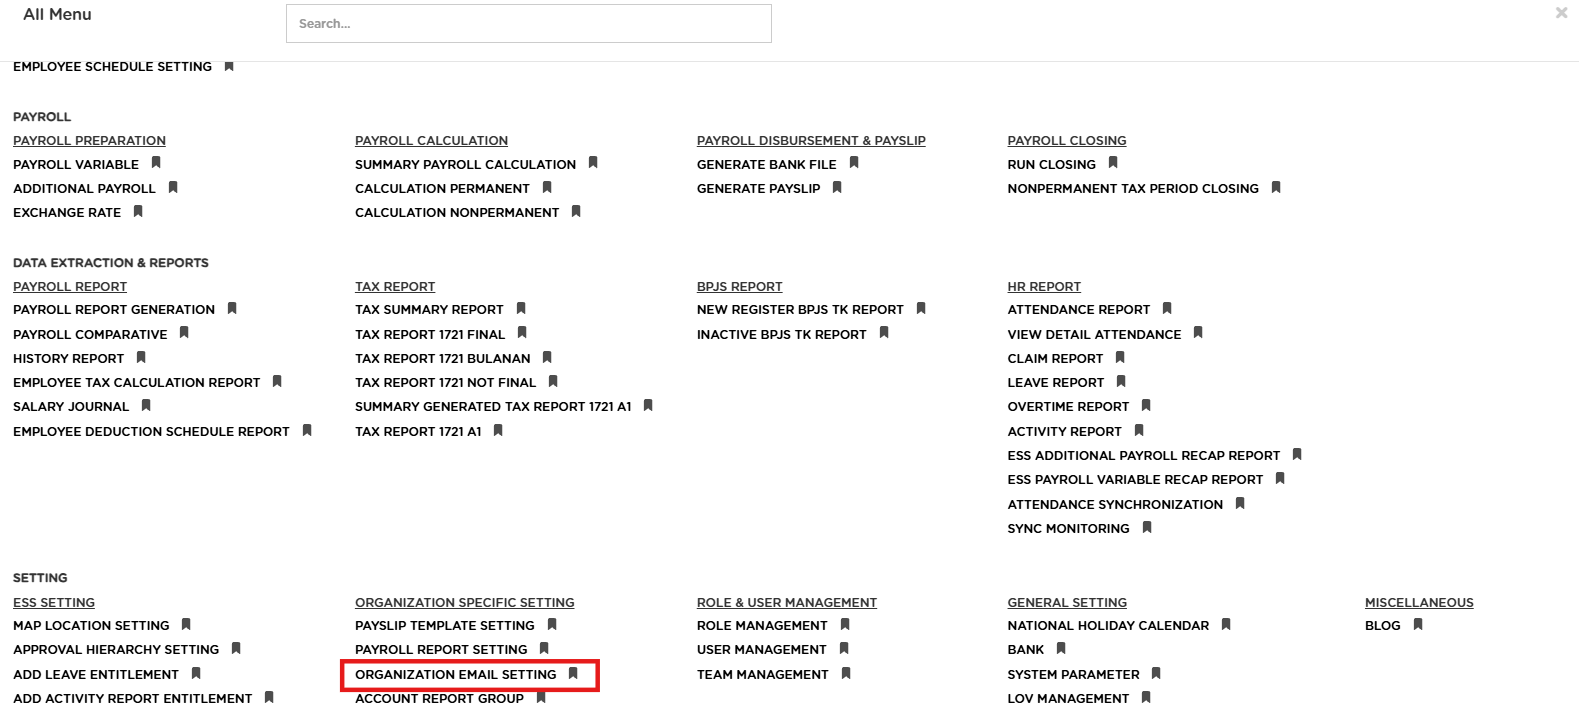
ORGANIZATION EMAIL SETTING
Menu Organization Email Setting memungkinkan pengguna untuk mengkonfigurasi pengaturan email organisasi. Melalui fitur ini pengguna dapat mengatur email pengirim untuk tujuan mengirim Instruksi Aktivasi untuk Benemica Employee Self Service (ESS) dan mengirim slip gaji untuk Jenis Email Distribusi Slip Gaji.
Organization Email Setting menu allows users to configure the organization's email settings. Through this feature, users can set up the sender's email for the purpose of sending Activation Instructions for Benemica Employee Self Service (ESS) and sending payslips for the Payslip Distribution Email Type.

Buka melalui tautan berikut :
https://www.benemica.com/Payroll/organizationemailsetup/index
Open the page through the following link:
https://www.benemica.com/Payroll/organizationemailsetup/index
-
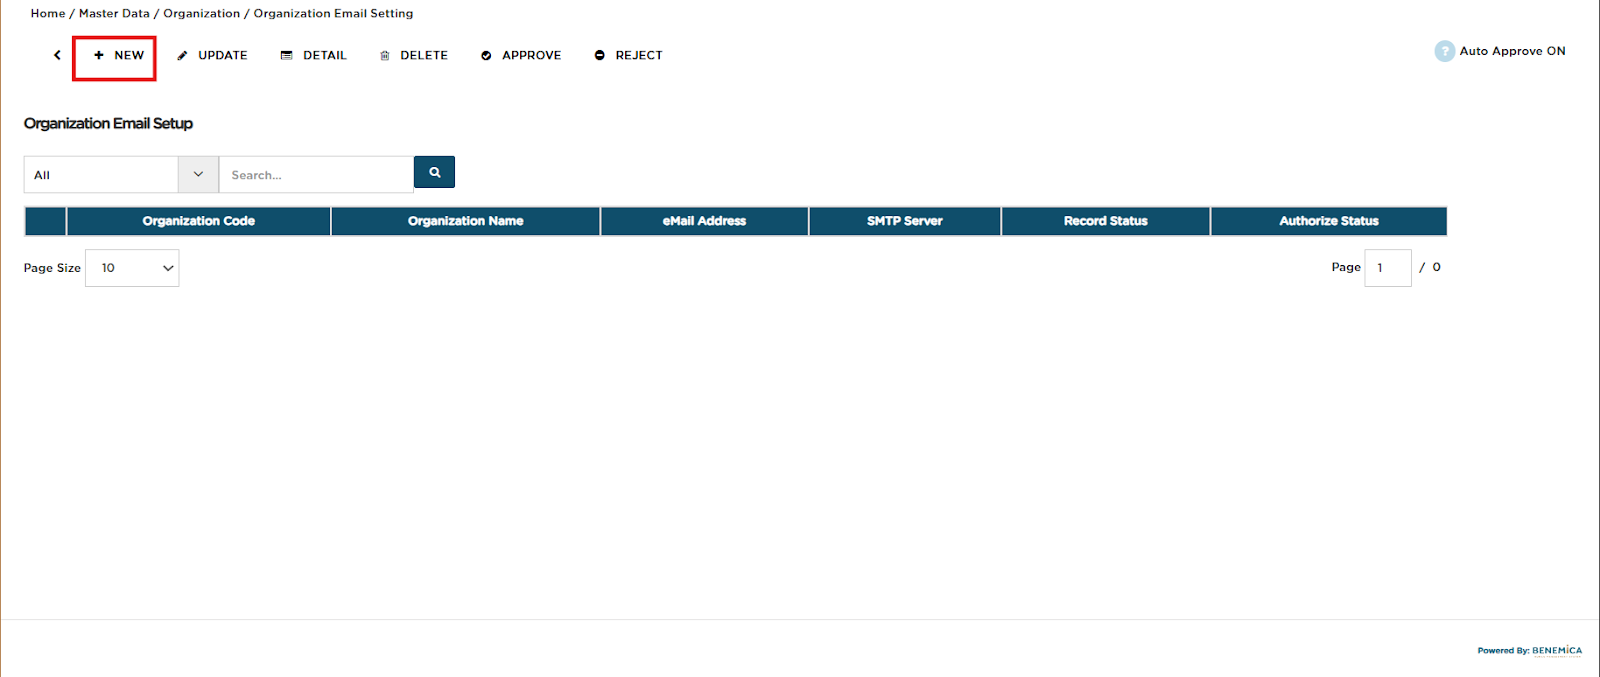
Klik “NEW” untuk membuat pengaturan organisasi email yang baru.
Click "NEW" to create a new organization email setup.
-
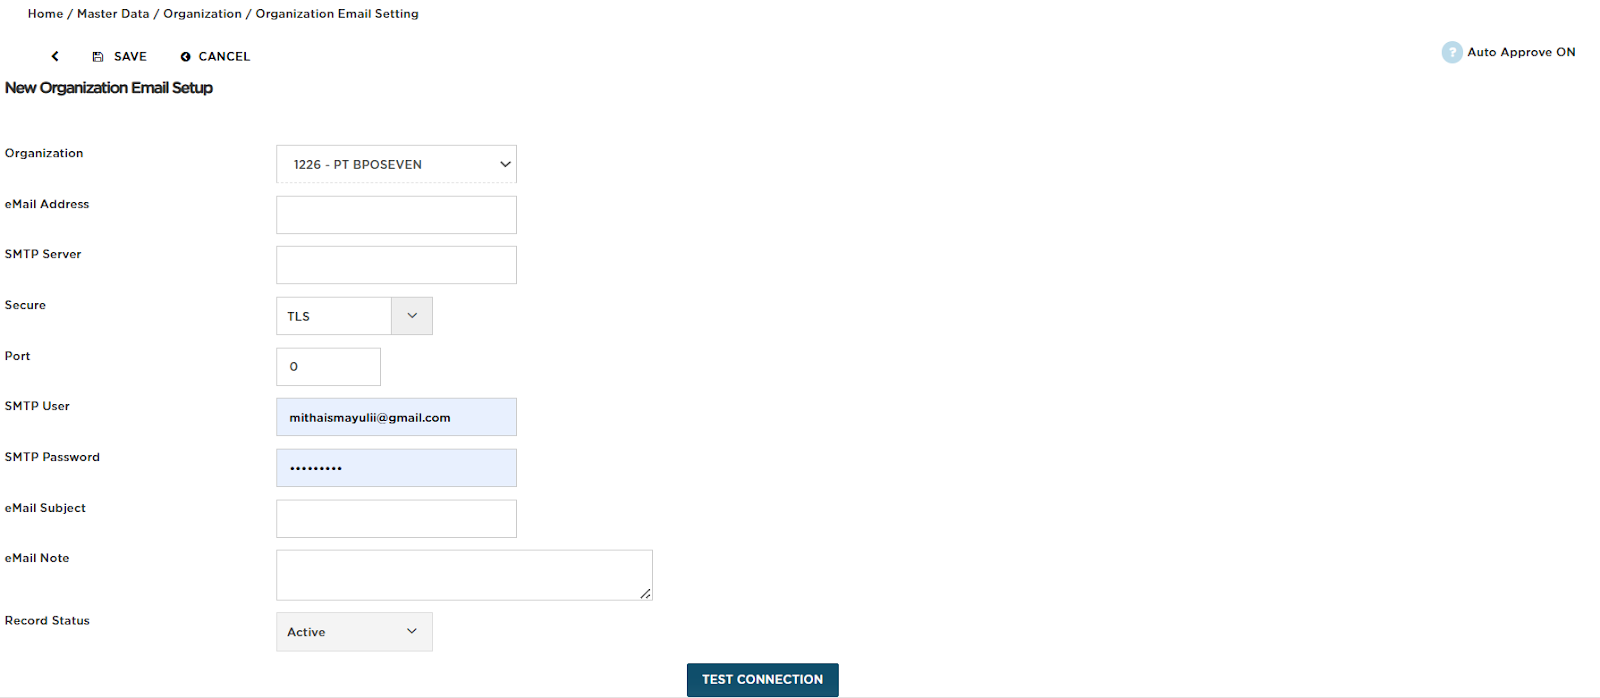
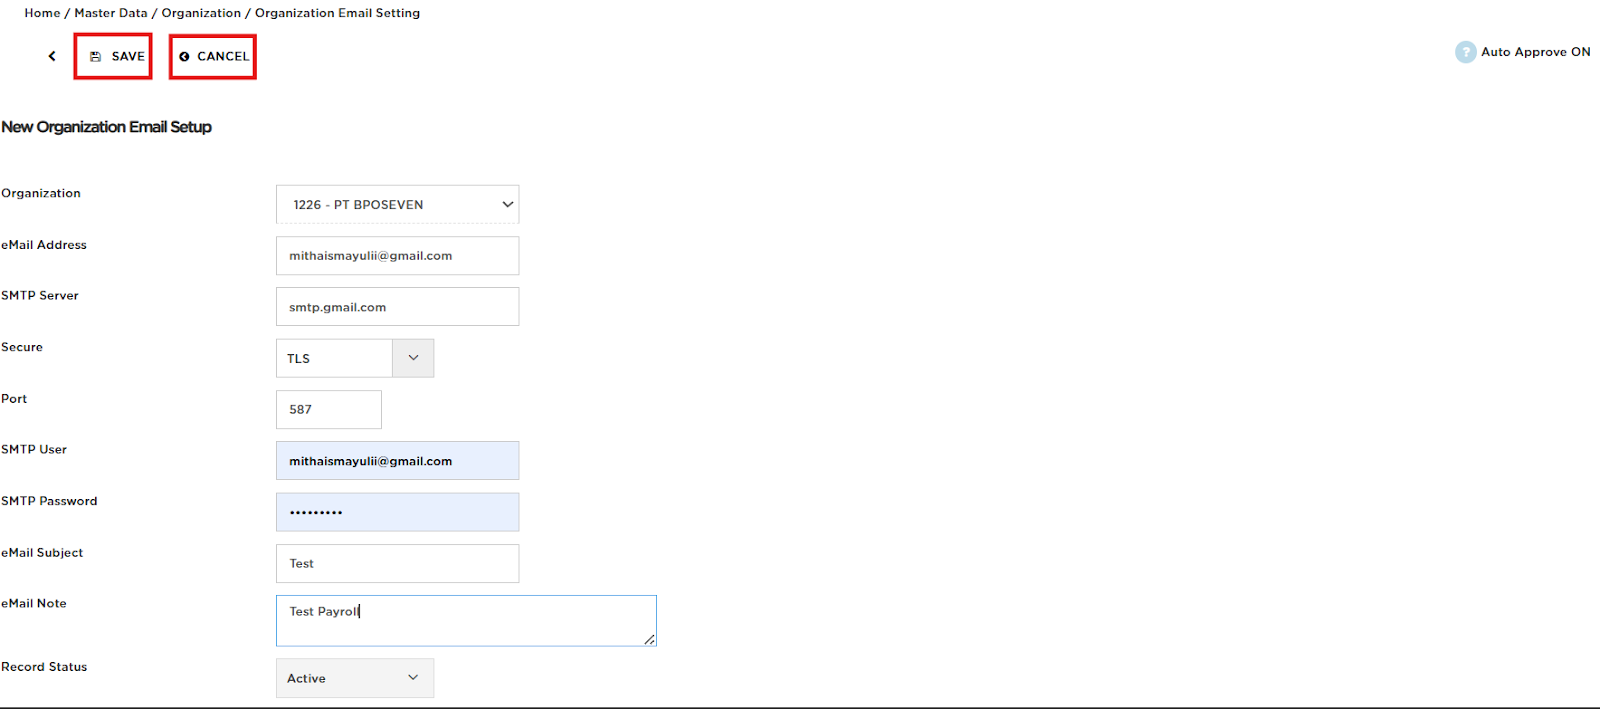
Isilah form yang tersedia seperti :
-
Organization: Pilih organisasi yang diinginkan dari daftar
-
Email Address: Masukkan alamat email yang akan digunakan
-
SMTP Server: Masukkan alamat server SMTP yang relevan,Anda bisa mengisi dengan smtp@gmail.com.
-
Secure: Pilih protokol keamanan yang digunakan untuk pengiriman email.
-
Port: Masukkan nomor port yang sesuai
-
Untuk TLS, gunakan port 587.
-
Untuk SSL, gunakan port 465.
-
-
SMTP User: Masukkan username SMTP, biasanya ini adalah alamat email yang sama.misalnya mithaismayulii@gmail.com.
-
SMTP Password: Masukkan kata sandi SMTP yang sesuai.
-
Email Subject: Isi subjek email yang akan digunakan.
-
Email Note: Catatan opsional yang ingin ditambahkan.
-
Record Status: Pilih status data.
Fill out the available form as follows:
-
Organization: Select the desired organization from the list.
-
Email Address: Enter the email address that will be used.
-
SMTP Server: Enter the relevant SMTP server address.
-
Secure: Select the security protocol used for sending emails.
-
Port: Enter the appropriate port number.
-
SMTP User: Enter the SMTP username, usually the same as the email address.
-
SMTP Password: Enter the corresponding SMTP password.
-
Email Subject: Enter the subject of the email to be used.
-
Email Note: Optional note that can be added.
-
Record Status: Select the data status.
-
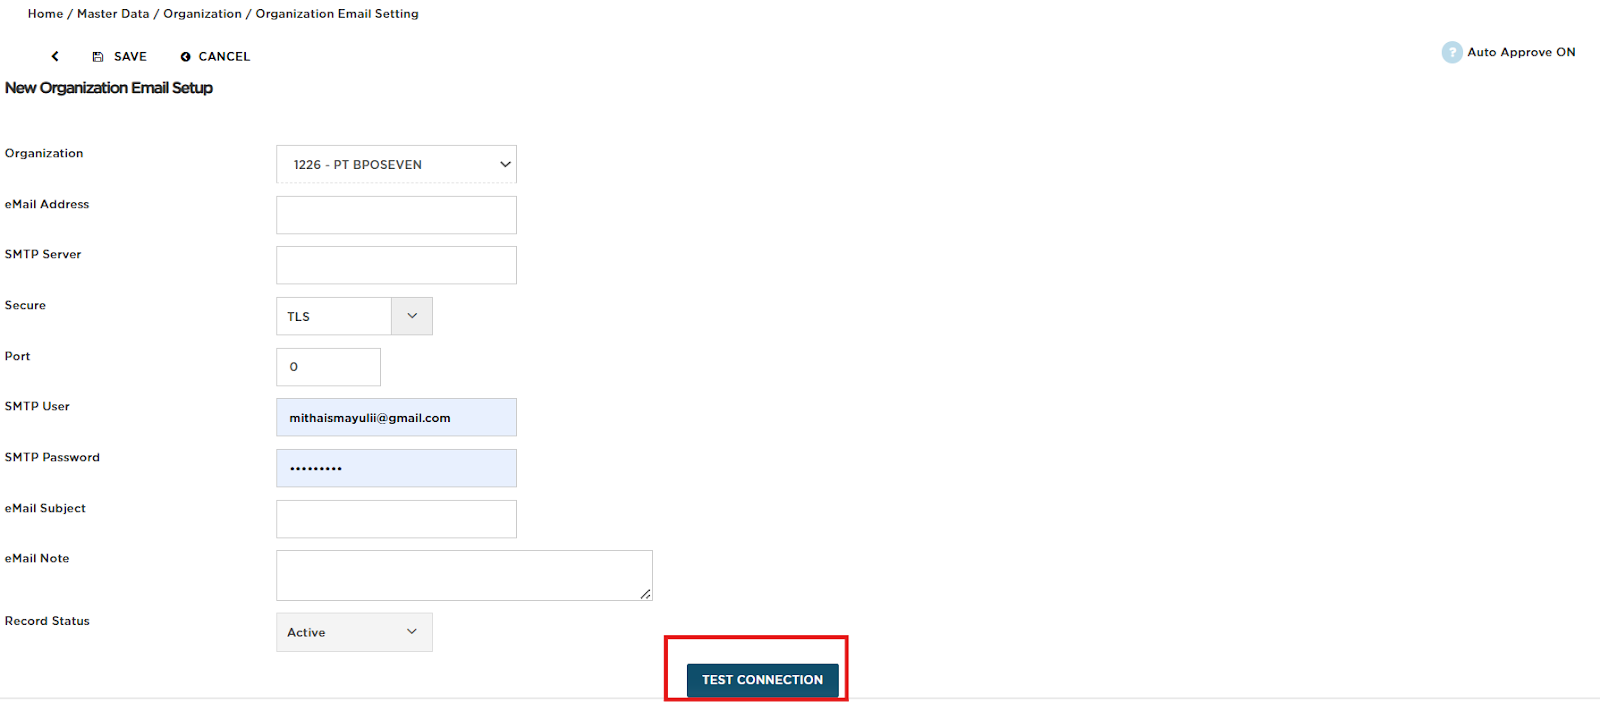
Klik tombol “Test Connection” untuk menguji apakah sistem dapat terhubung ke server email dan memastikan email dapat dikirim dengan pengaturan yang telah dimasukkan.
Click the "Test Connection" button to check if the system can connect to the email server and ensure that emails can be sent using the provided settings.
-
Setelah semua data diisi, Klik “SAVE” untuk menyimpan pengaturan atau “CANCEL” untuk membatalkan.
After all the data has been entered, click “SAVE” to save the settings or “CANCEL” to cancel.
Selain itu,juga terdapat beberapa opsi seperti Update, Detail, Delete, Approve, dan Reject untuk memungkinkan pengguna memperbarui, melihat detail, menghapus, menyetujui, atau menolak pengaturan email.
In addition, there are several options such as Update, Detail, Delete, Approve, and Reject that allow users to update, view details, delete, approve, or reject email settings.